I thoroughly enjoyed this course far more than that of graphic and digital design 1. Did I experience what I anticipated? yes and no. I was thinking we would stay in the photoshop format for a while and then move to free work, but that wasn’t the case; I preferred this more. I definitely liked the self guided portion of the second semester much more than the first semester, but I enjoyed learning a new program a lot as well. I would rate my teacher a 10/10 because he is very helpful when he is needed and has a keen eye for graphic design. I wouldn’t change anything about this course if I was given the choice; I liked this course as is. Would I take this course again? Of course, it was an experience I would not forget.
Latest
5/24/13 Projects Update
 I have successfully finished my project revision for my poster and have begun my official work on photo restoration of the remaining pictures left in our room of the different sports teams throughout the year. These computers are far too slow for a project this big, but I will push through. Tears will be shed.
5/17/13 Projects Update
 Well, the project revision is coming along nicely. I feel as if there are too many points throughout this revision though that I feel as if my OCD is going to get to me. There are so many little things that annoying me that I really want to fix, but they really don’t need it, it’s not a noticeable thing. I can’t say I’m finished, however. There is a little bit of color correction I have to do and a fair bit of position adjustments that I have to correct. Other than that, I should be finished within the next work day.
5/10/13 Tutorials
 Today I have learned two very important pieces of information on Adobe Photoshop CS4. This first fact is that if you are making an image with a very high resolution, compared to a lower resolution image, this file can take a considerable amount of time to save. I didn’t know of this fact before I began working on these school computers which are considerably slower than my computer. Another piece of information that I learned is that if you are working on two documents at the same time in photoshop and do not wish to switch to another window, you can go up to the top of the window and click this button to be able to view 2, 3, 8… windows all at the same time on one monitor.
Personal Poster
My Personal Poster. This was not meant to advertise anything or display my characteristics visually. This was just a little (actually quite large) project that I wanted to do before the end of the year, a big old poster with my name on it… How wonderful! I think this poster turned out really well. I came up with a neat little design on my sandbox Illustrator file and then just went from there. I honestly didn’t think I would enjoy the end result of this project as much as I do now.
4/26/13 Tutorials
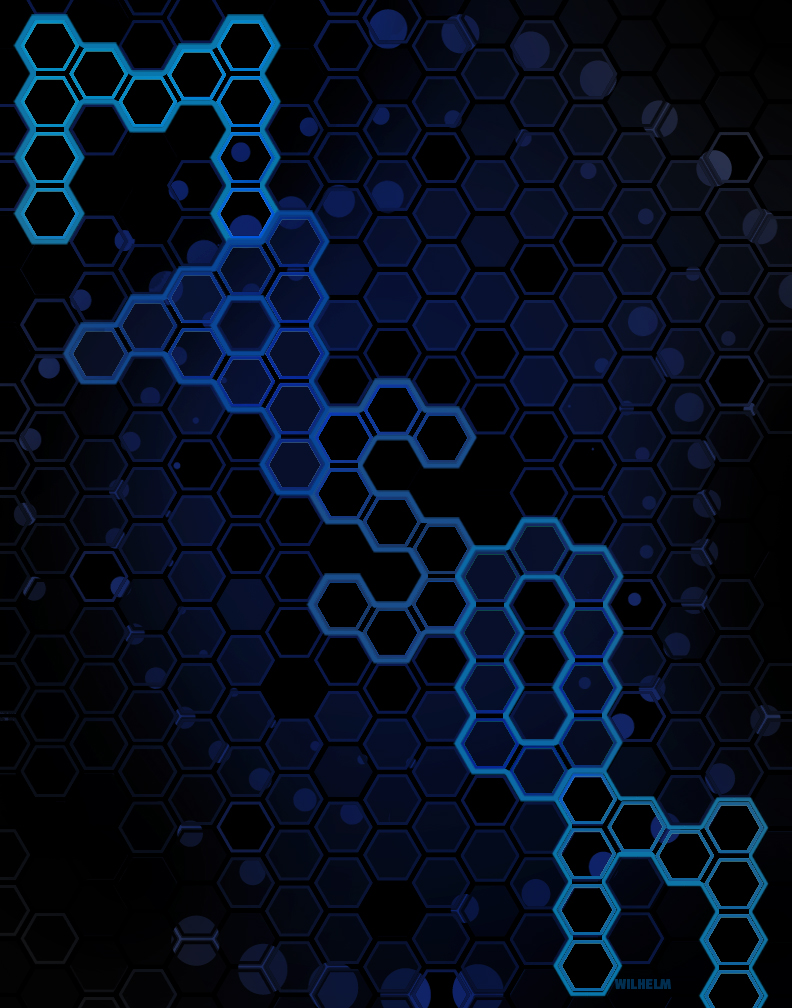
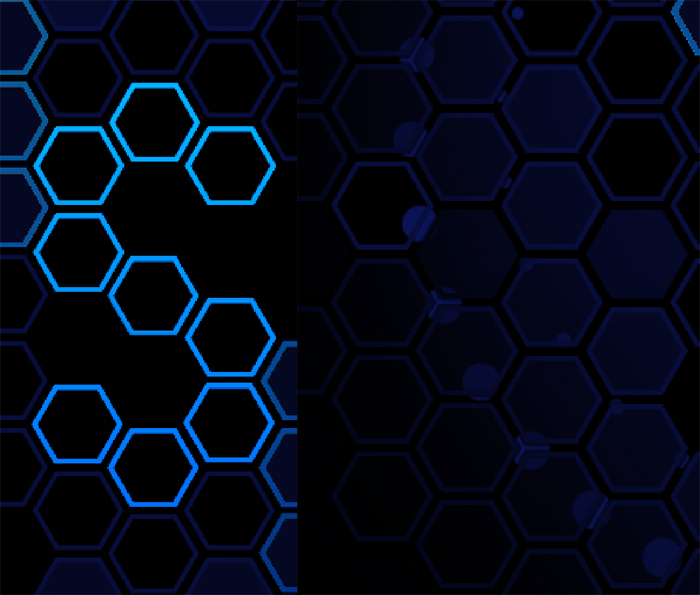 In this week’s tutorials post, I have learned how to do two things that I have never attempted to do before. Firstly, on the left, I learned about 30 different ways how not to make letters using hexagons. In addition to that I learned how to effectively make them using the size of the shape I’m using, as well as, learned that if i wanted to try any other method I would need to use a smaller shape. On the right side, I learned how to make a certain style of layer design that goes in between yet overlaps objects, as seen in the picture. This I learned through pure experimentation, but turned out very nice in my opinion.
4/19/13 Projects Update
 In this week’s project update, I have begun working on a, what I originally thought would be a logo, and what is now a poster-like design. This poster isn’t really meant to display anything in particular and as I work on it I feel as if it will soon be translated into something to display my name. More is definitely to come; I am not done with this one yet. Have no fear, I am planning on brightening it up too.
4/12/13 Tutorials
 I killed two birds with one stone this week. Whilst starting a new logo project, I wanted to learn how to do a tapered spiral of dots leading inwards. One thing that I never knew even existed in Illustrator was the spiral tool. This tool could have saved me so much time in my previous years of creating spirals and spiral like objects. On the flip side, I also learned how to make a tapered string of dots look nice with a spiral. This was far harder than I would’ve expected seeing as the only way I came up with to accomplish this was to manually make a string of dots and re-size them all individually. I somewhat doubt that this was the most efficient way to do this, but it was all I could come up with at the time. After the line was made, I moved it into the brushes panel as an art brush and applied it to the spiral, giving me the result seen above.
The Greater Good
 The Greater Good logo I have been working on has finally been finished. Since my previous posts concerning the progression of this project; I have added a 3-Dimensional ring, created and textured in MAXON’s Cinema 4D r13, and added the Greater Good title on the ring. Aside from a number of small touch ups also made since then, I also added some color correction to the final design using the curves adjustment of Photoshop.
I really did enjoy working on this project although I ran into quite a few difficulties since I started working on it. I also learned a number of new design techniques from working on this project, such as the ripple effect, that is always a plus in my eyes.
Aside
3/22/13 Tutorials
 The two tutorials that I’ve explored in the past two weeks are that of how to expand upon the effectiveness of the gradient/ mesh tool and how to use the color sliders at the top right of illustrator CS4. I’ve learned quite a bit on how to use the mesh tool and how to add more columns and rows and alter them to produce a vector image from a regular image using the tool (such as the incomplete cloud above). The color sliders at the top I never really got a good grasp of for the longest time. I always took note of them and tried to mess with them here and there, but I never got a result that couldn’t easily be accomplished from just selecting the color manually. In this instance, I used the sliders, as well as the mesh tool, to make a rather good looking shadow on the flag I was working on earlier.
